Research
Step by step.
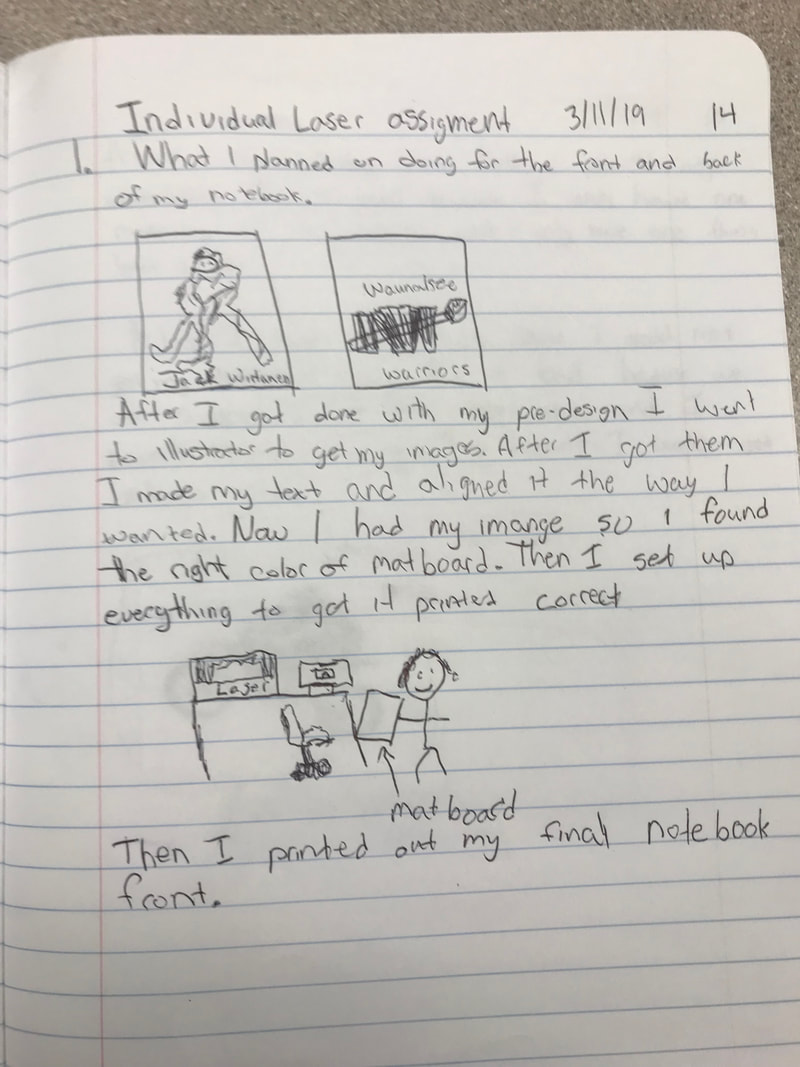
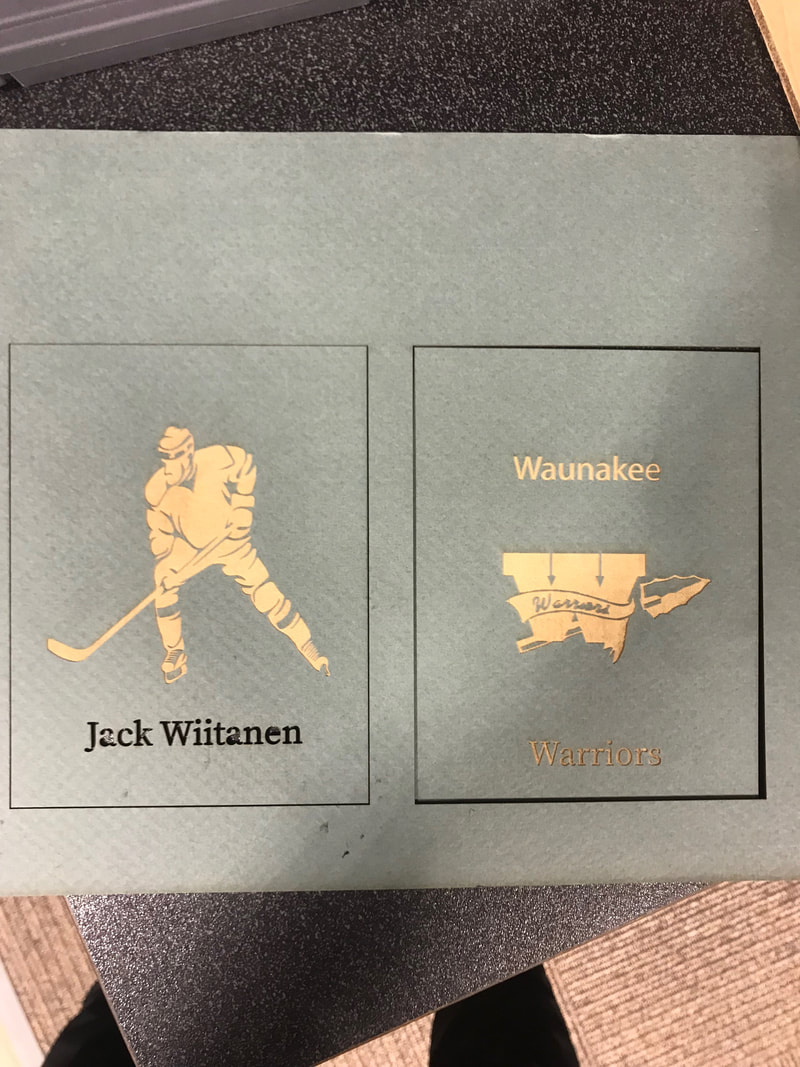
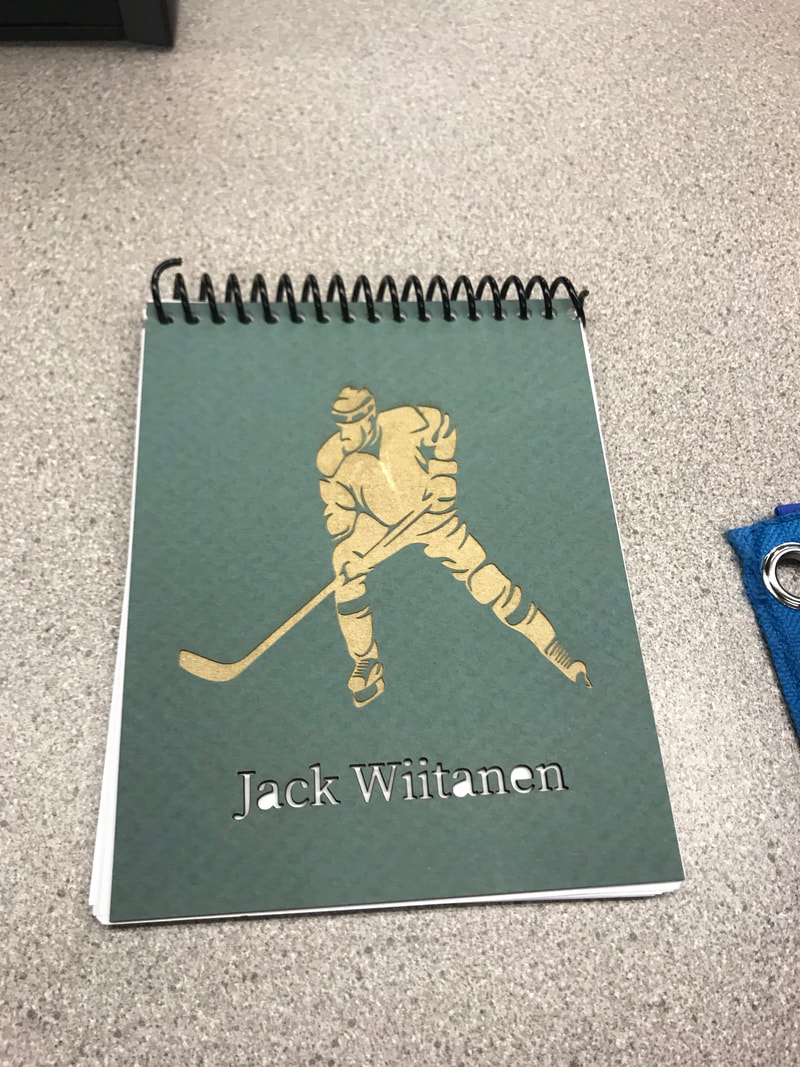
1. notebook cover
For the notebook cover I first had to find an image that I could use that was black and white that I liked. Then I had to put them onto my notebook file. Now I had to align them and decide what I wanted engraved and what I wanted cut out. After that I saved a went to the printer. At the printer after I got the right format to print I clicked the print button and it started printing on my mat board. After it finished I then had to hole punch my notebook and put the sheets of paper in the book.
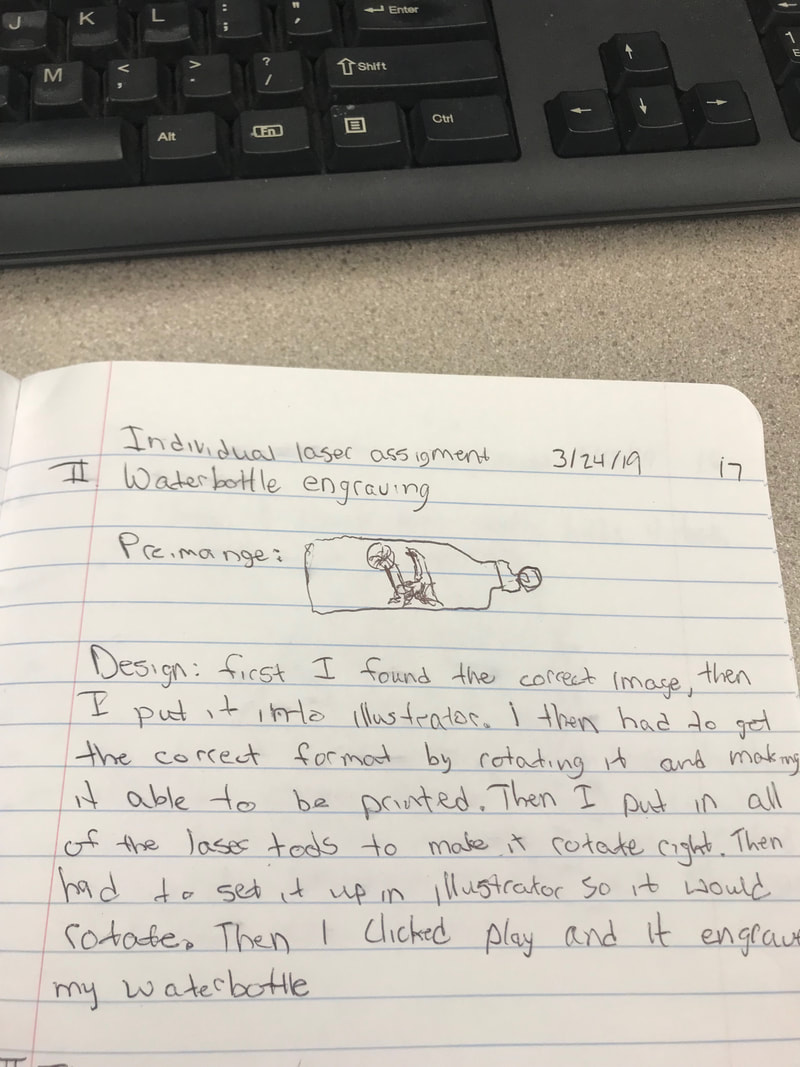
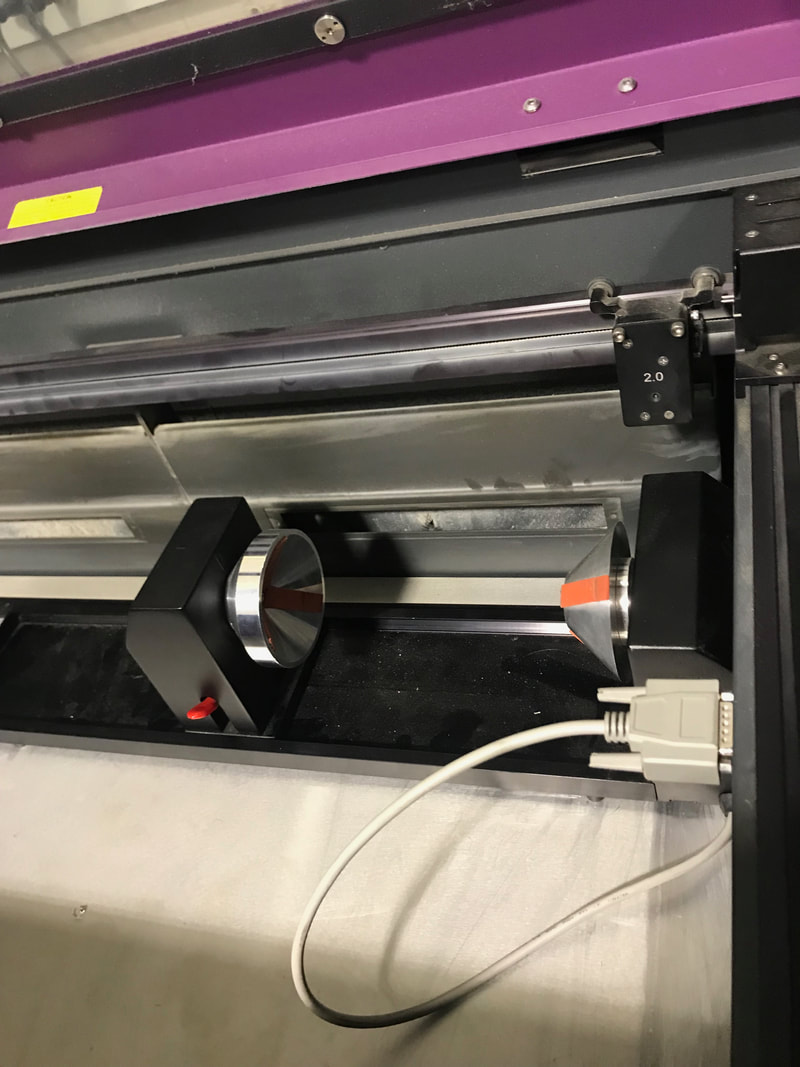
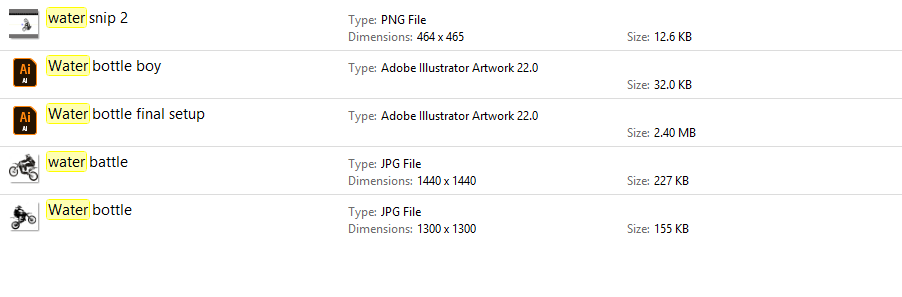
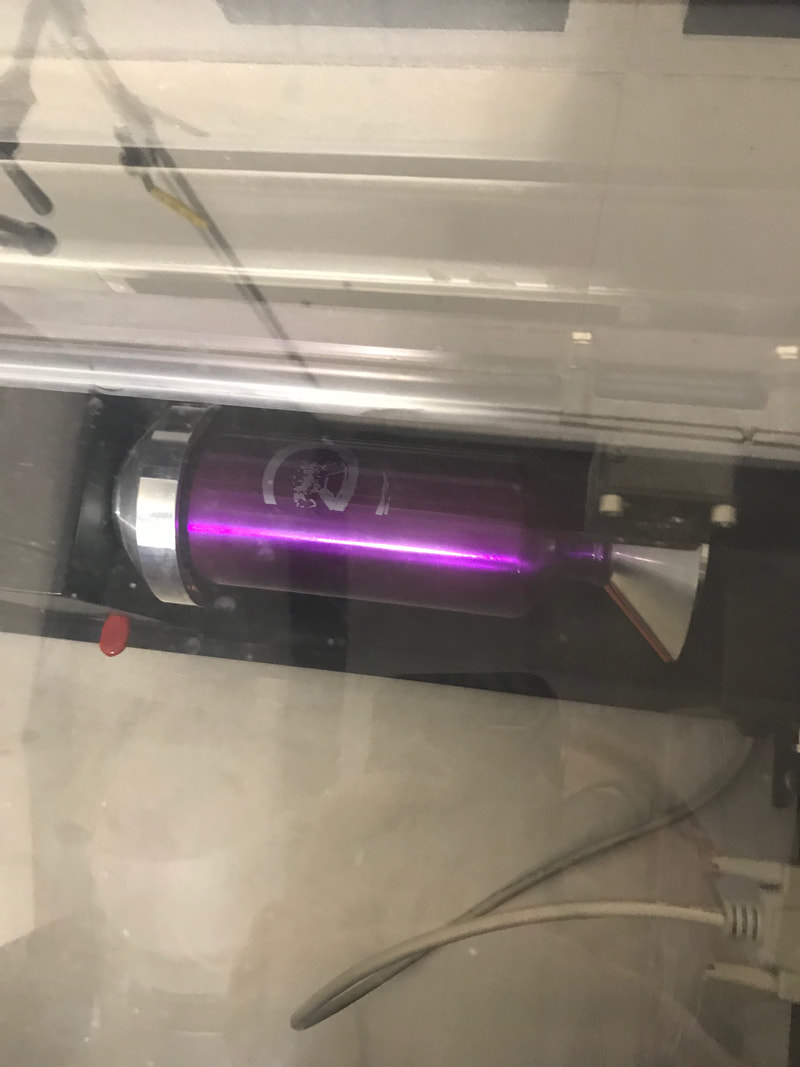
2. Water bottle
For the water bottle I had to find an image that would work, then I put it into the illustrator file. There I had to rotate it 270 degrees to make it be able to print side ways. After that I went down to go print it, there I set up all of the details and put the water bottle on the rotary jig. Then after making sure it all lined up I printed it.
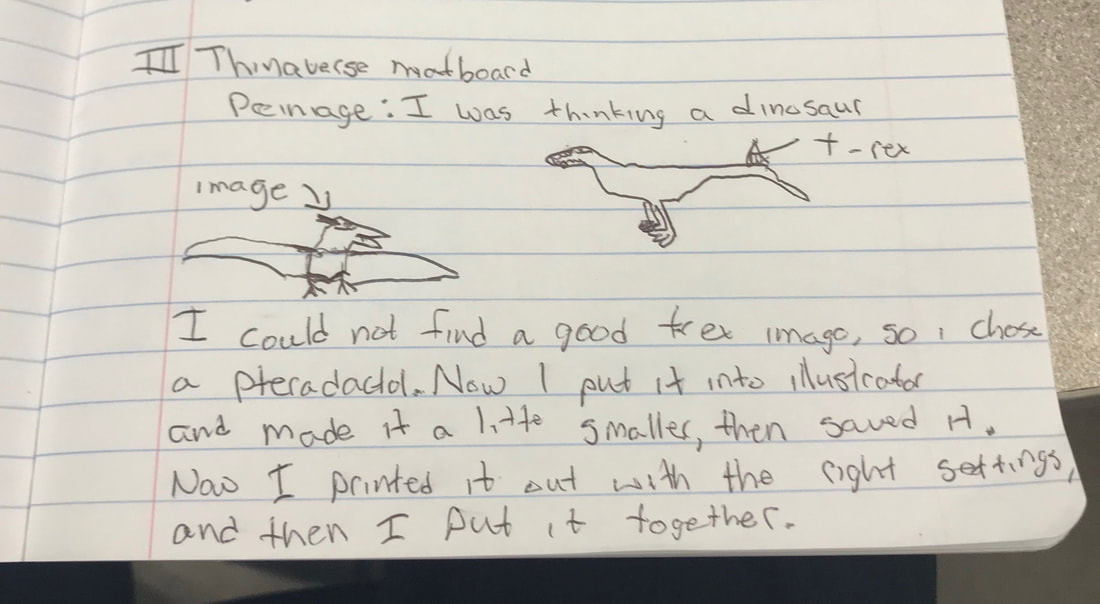
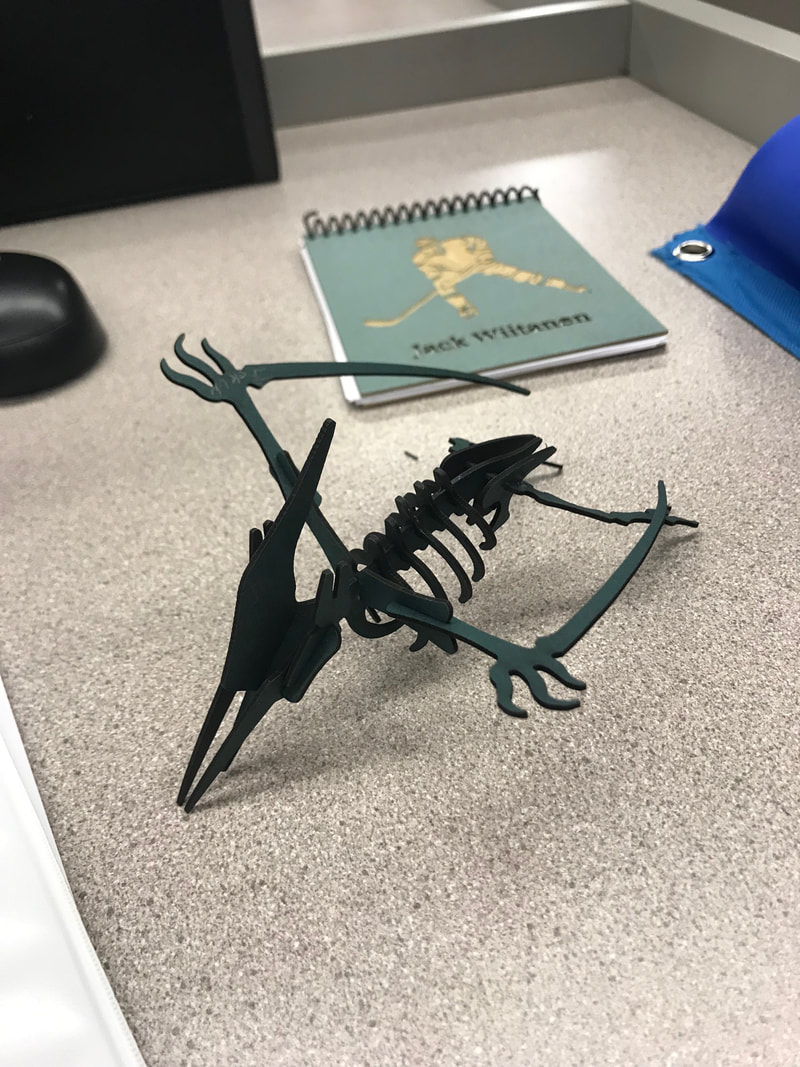
3. Thingaverse
For Thingaverse I had to go online to find something else someone created. After I found something that I liked and it fit my width I downloaded the files and had to move them around to make it fit better. Then I went down to the printer and set it up right, and printed. Since I ran out of time I had to do it at home with the help of my sister. This took a long time because there was no instructions but we eventually built it.
For the notebook cover I first had to find an image that I could use that was black and white that I liked. Then I had to put them onto my notebook file. Now I had to align them and decide what I wanted engraved and what I wanted cut out. After that I saved a went to the printer. At the printer after I got the right format to print I clicked the print button and it started printing on my mat board. After it finished I then had to hole punch my notebook and put the sheets of paper in the book.
2. Water bottle
For the water bottle I had to find an image that would work, then I put it into the illustrator file. There I had to rotate it 270 degrees to make it be able to print side ways. After that I went down to go print it, there I set up all of the details and put the water bottle on the rotary jig. Then after making sure it all lined up I printed it.
3. Thingaverse
For Thingaverse I had to go online to find something else someone created. After I found something that I liked and it fit my width I downloaded the files and had to move them around to make it fit better. Then I went down to the printer and set it up right, and printed. Since I ran out of time I had to do it at home with the help of my sister. This took a long time because there was no instructions but we eventually built it.
Some pictures of me building


My files

Me using the machines


What I learned from this
From this rotation I learned a lot about many different types of using illustrator all the way from metal engraving a water bottle to making a 3-D dinosaur. One thing that I was really proud about was how I was able to put my 3-D dinosaur together, this took a really long time and it was very hard because there was no instructions. Another thing that I thought was cool was my water bottle, this ended out with a way better finish than what I had expected it to be.
