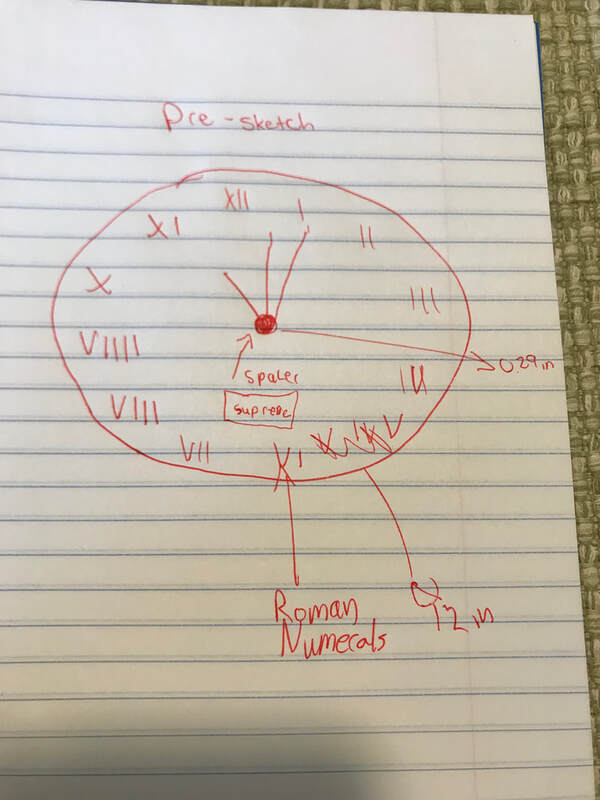
Pre Sketch
"Recipe" on how I completed it
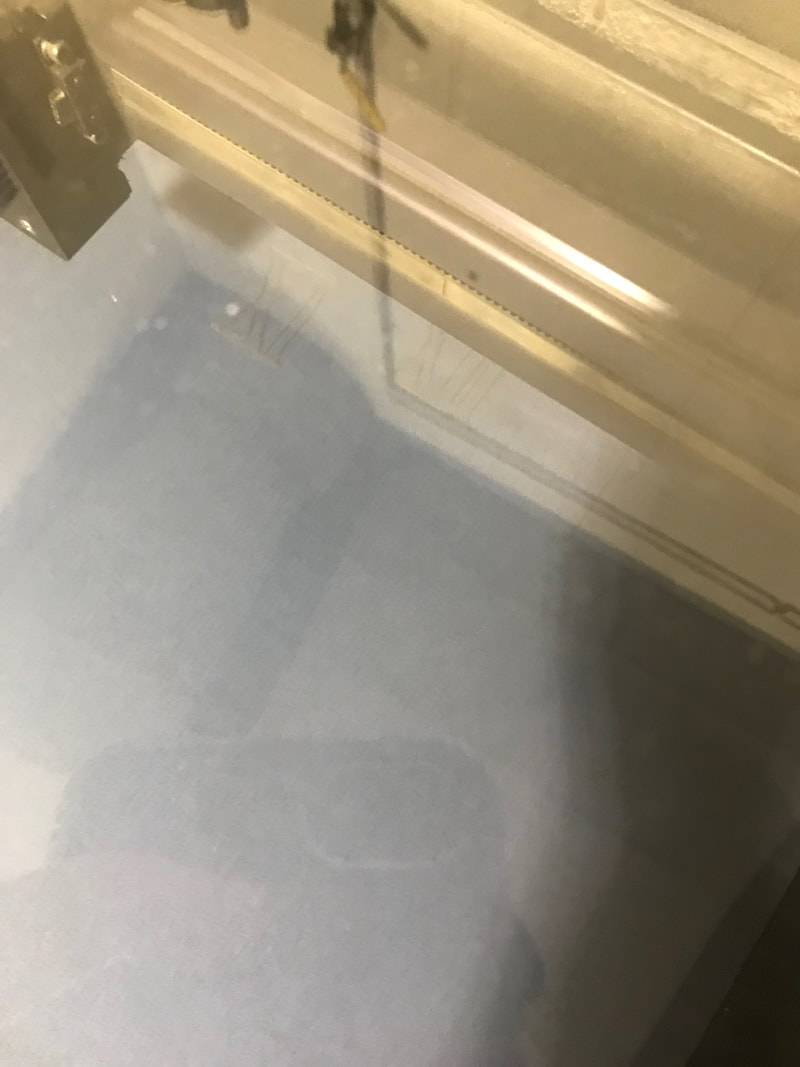
Laser


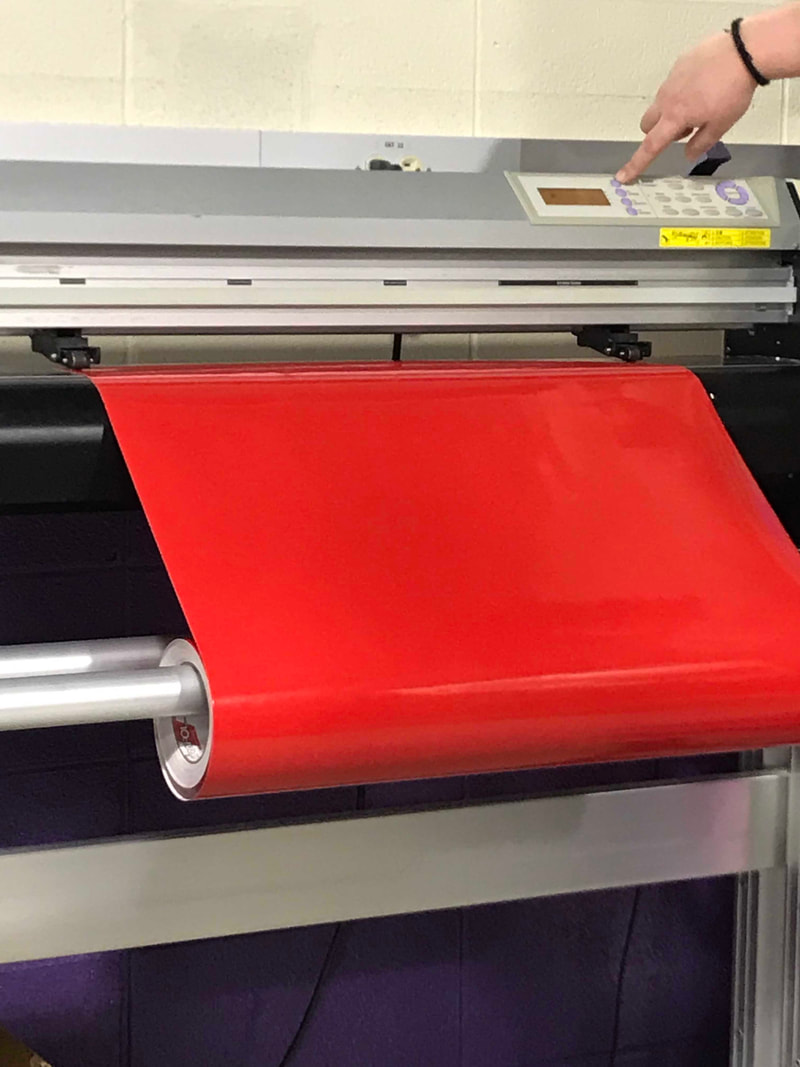
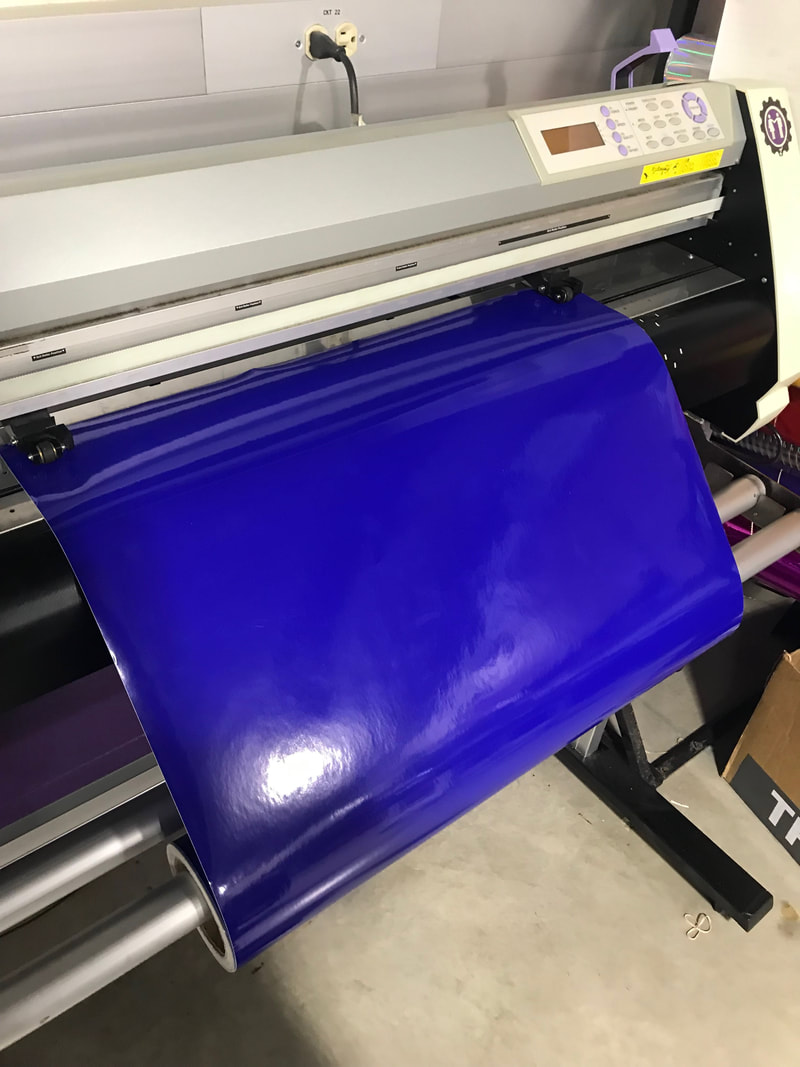
Vinyl
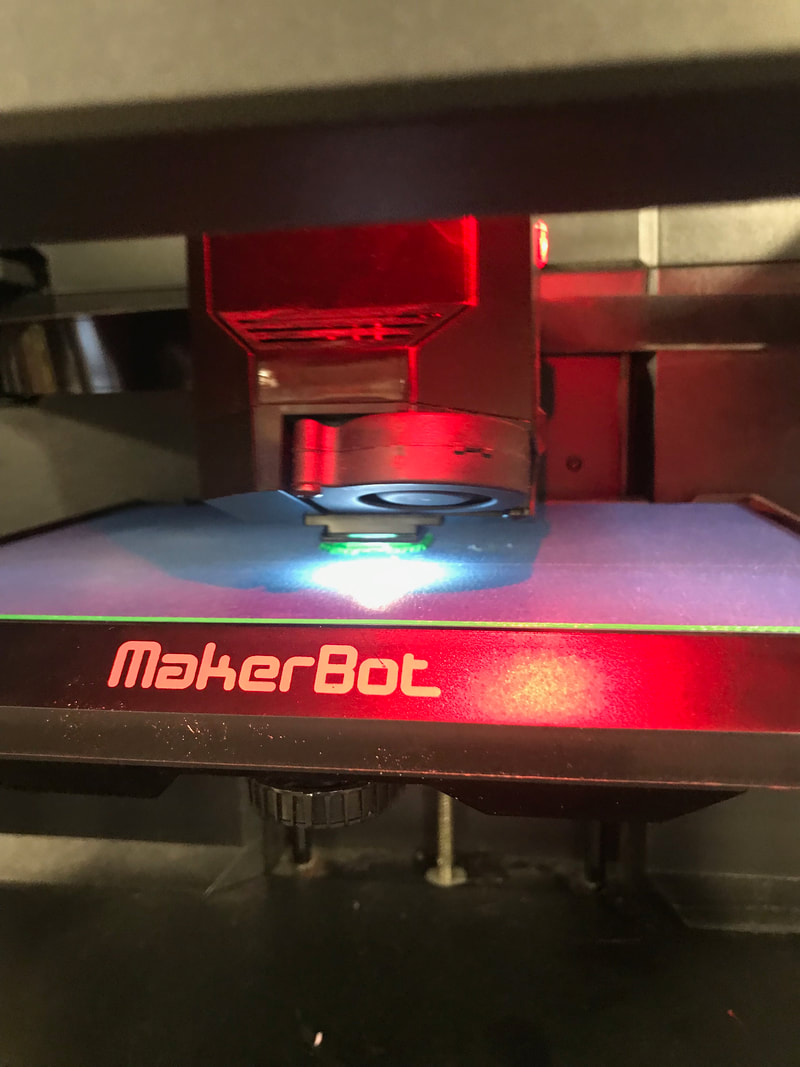
3-D printer
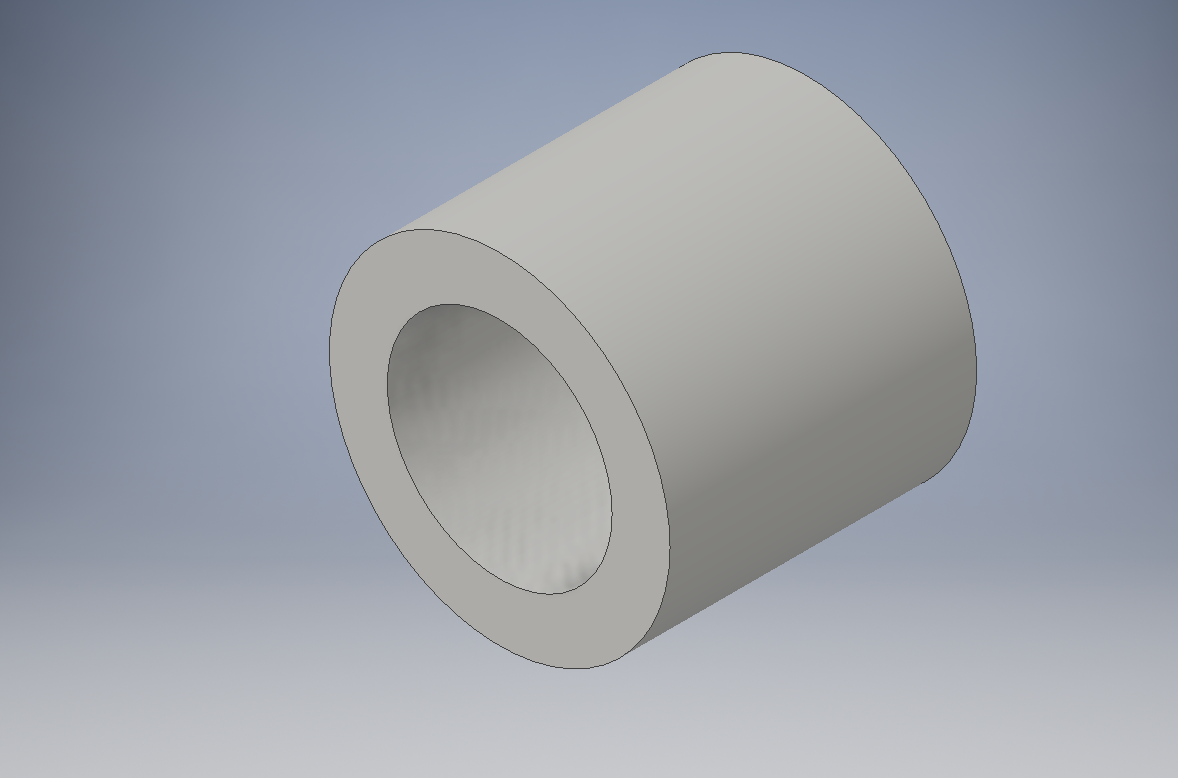
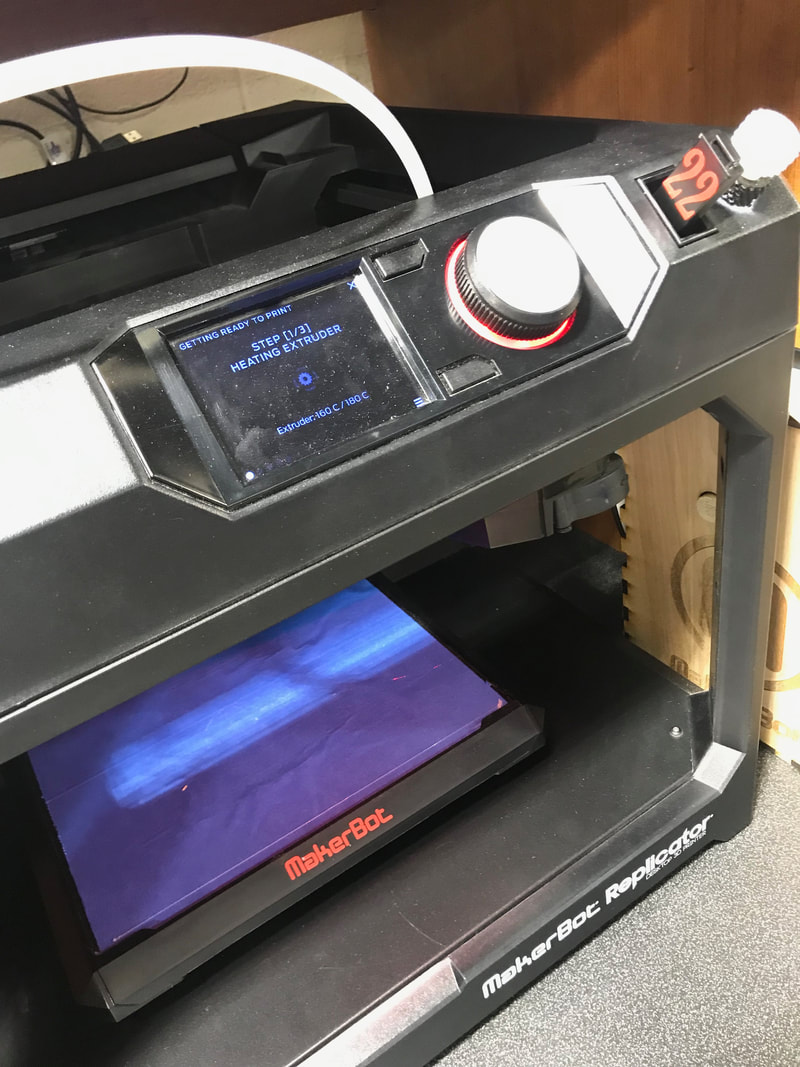
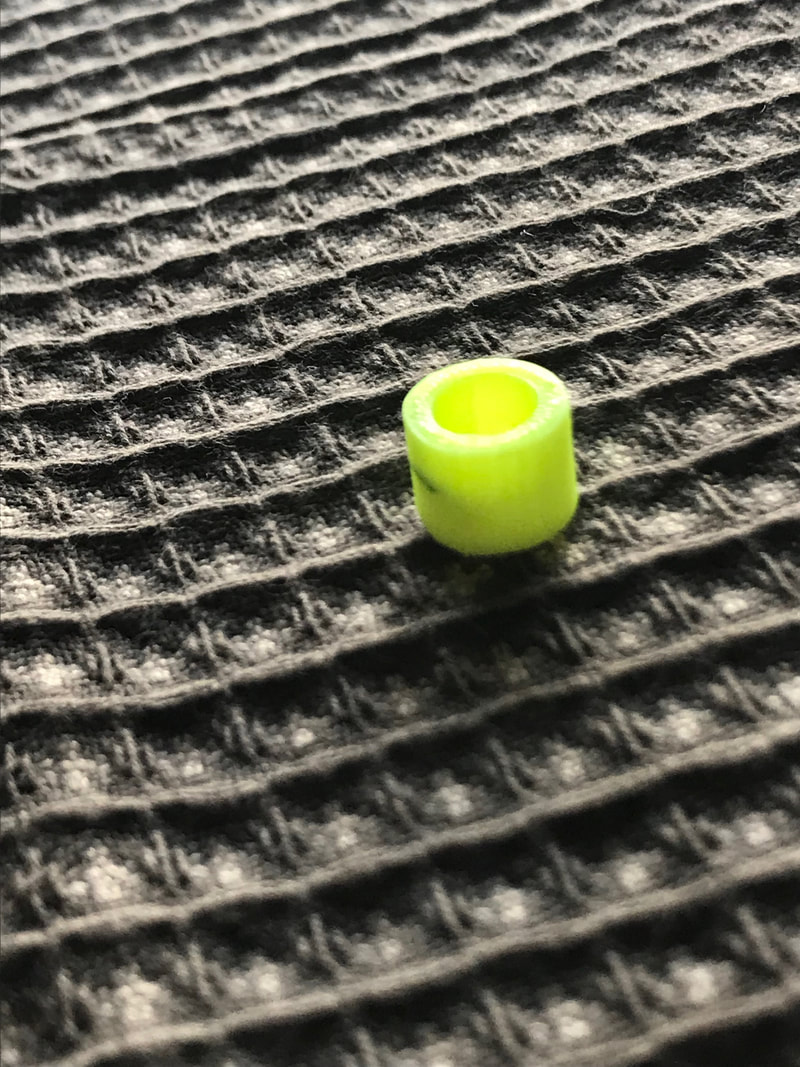
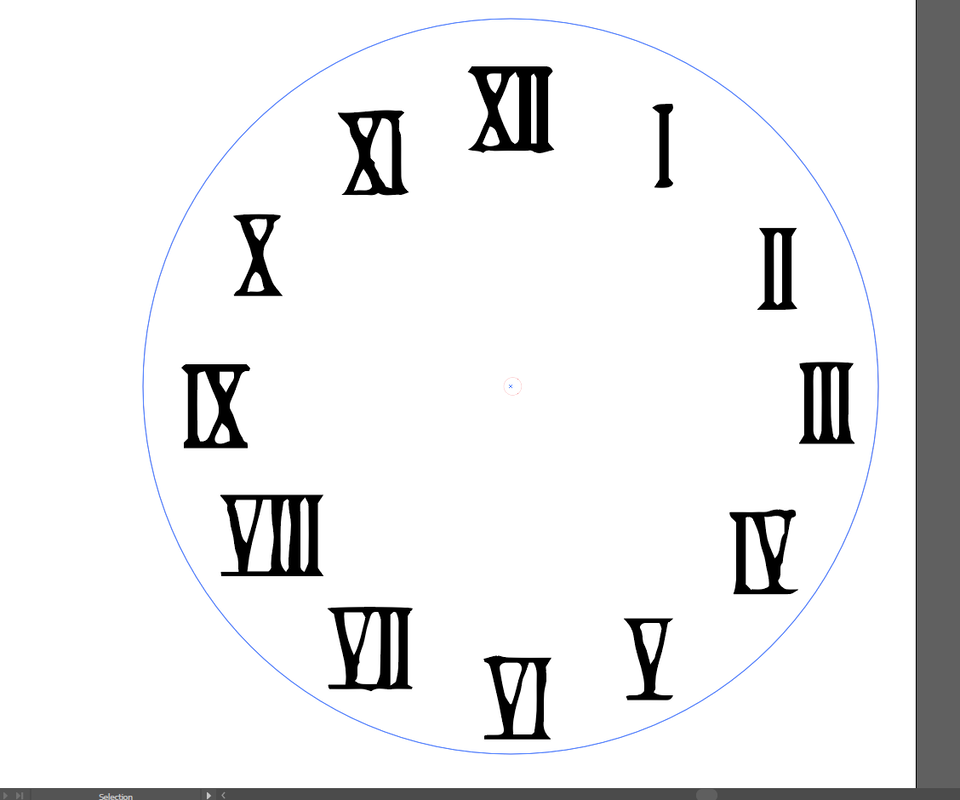
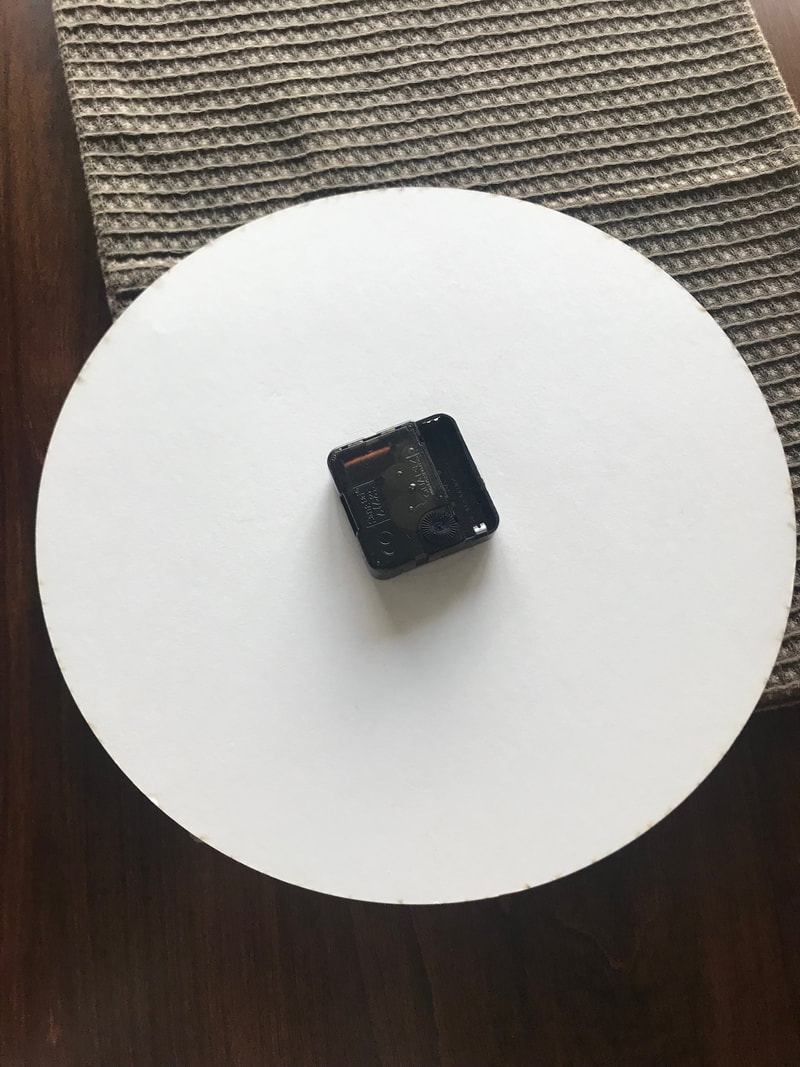
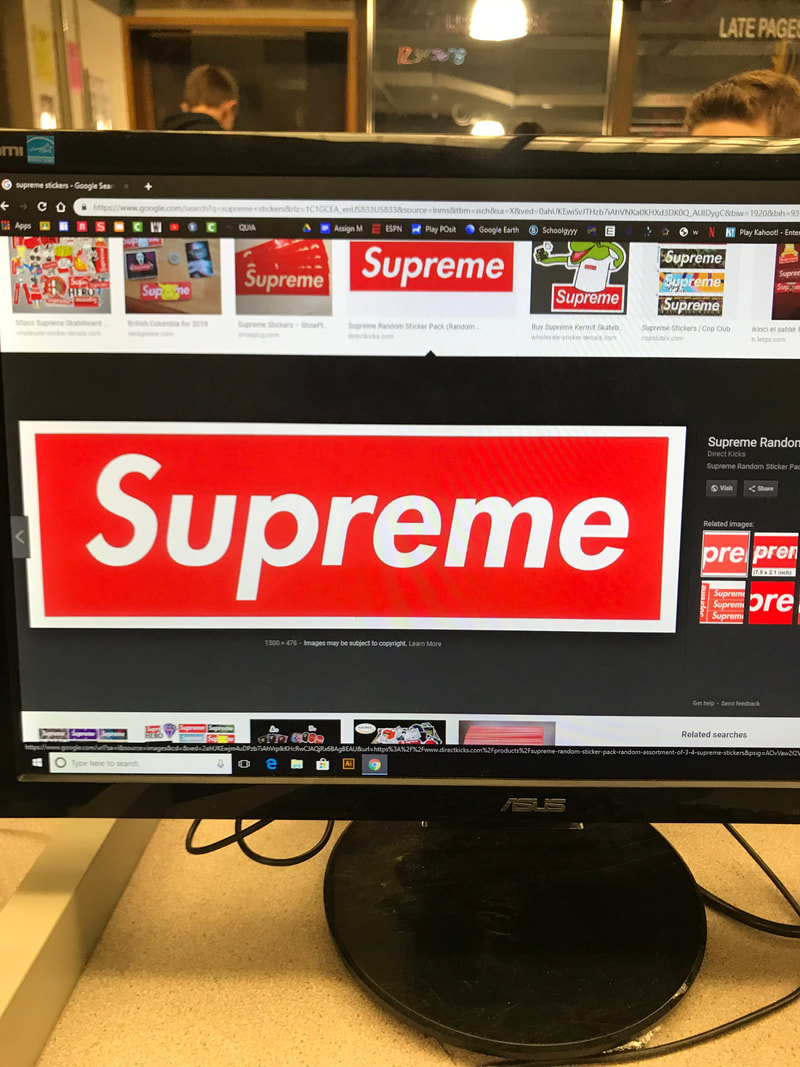
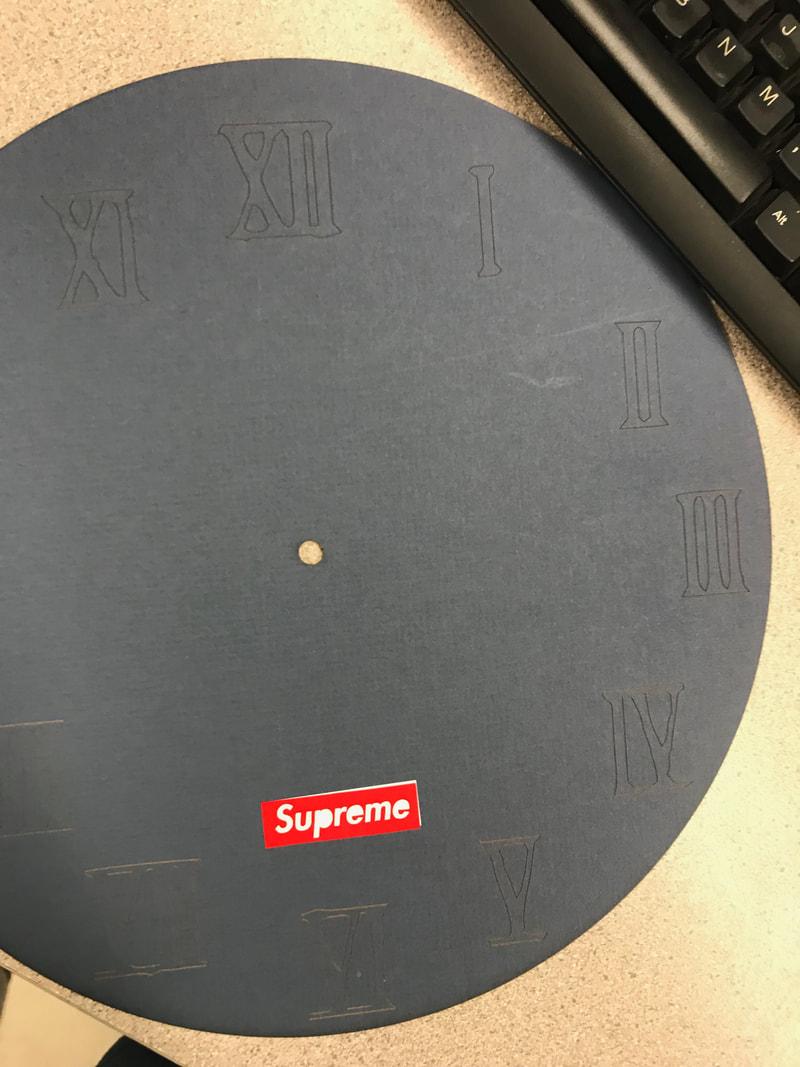
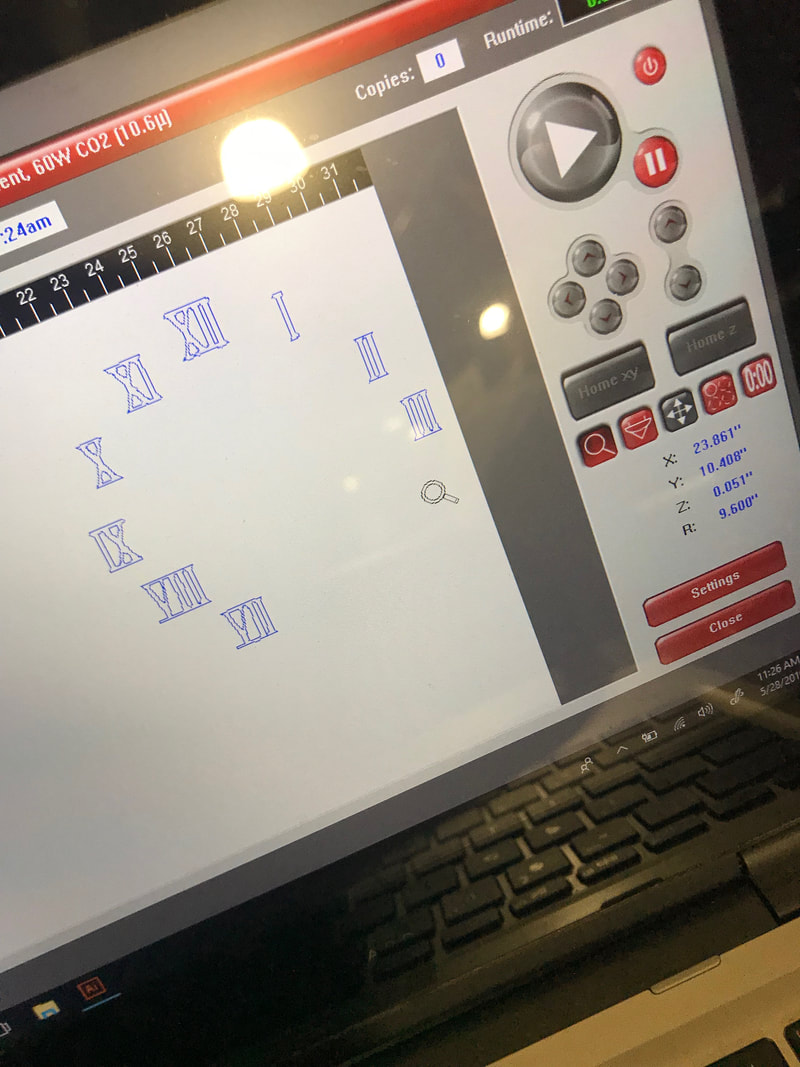
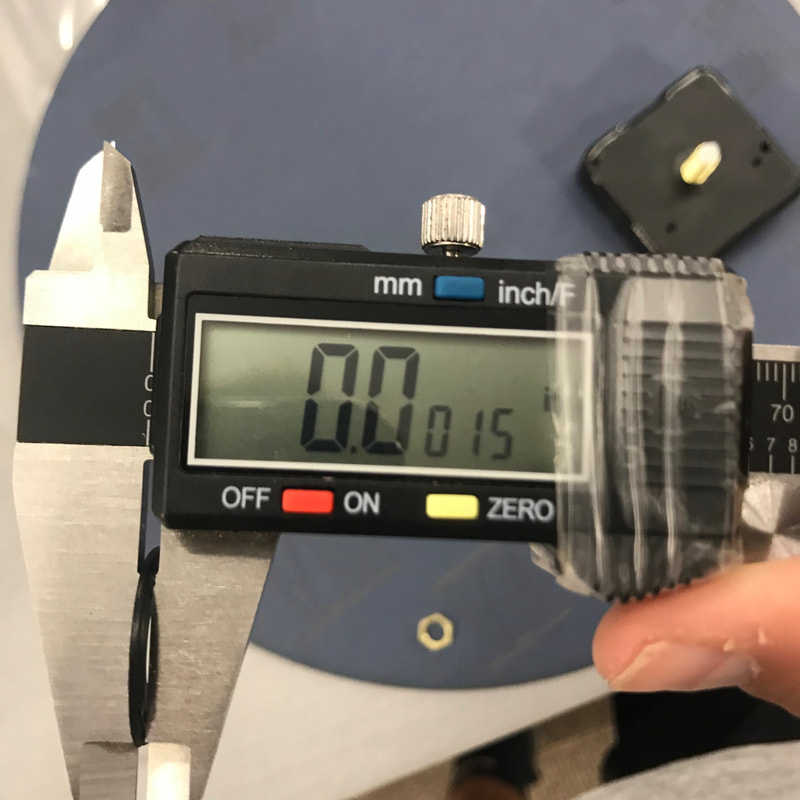
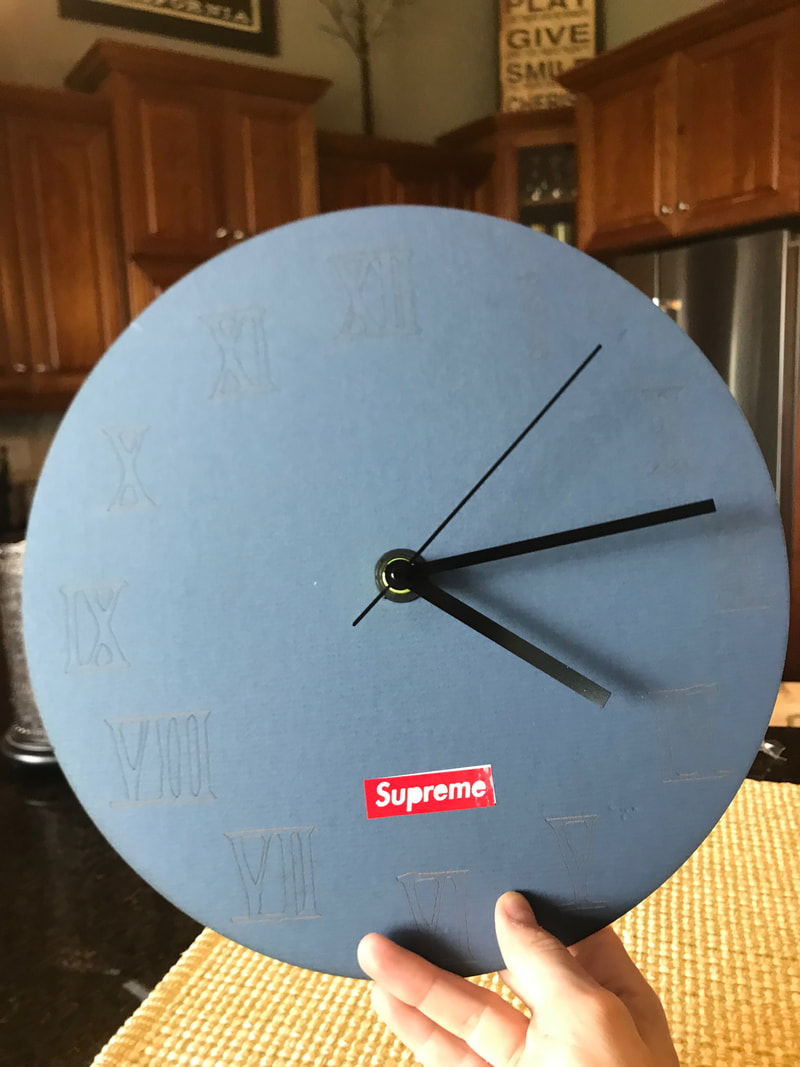
For this project I had to use three machines. I started with an idea from my notebook and then went from there. For this I decided to start out on the laser machine. First I coped a clock with roman numerals into it. Then after I got the right format I went down to the laser. From there I loaded my UCP software and started printing my part. After I got done with that I then went for the vinyl machine. All I had to do for the vinyl was import a supreme sticker into illustrator and then get it to the right format. After I got to the vinyl machine I loaded cutting master 2 and got my correct colors and sizes for my vinyl, then I printed out my vinyl decal. After it was done I put it onto my clock. The last part of my project was making a spacer for my clock. First I had to get a lot of measurements from the clock to get it right. Then I finally made my washer looking part. Now all I had to do was put it into MakerBot and save it to my flash drive. Then I went down to print my spacer on the 3-d printer. Then I was done and all I had to do was combine my parts into my final clock project.
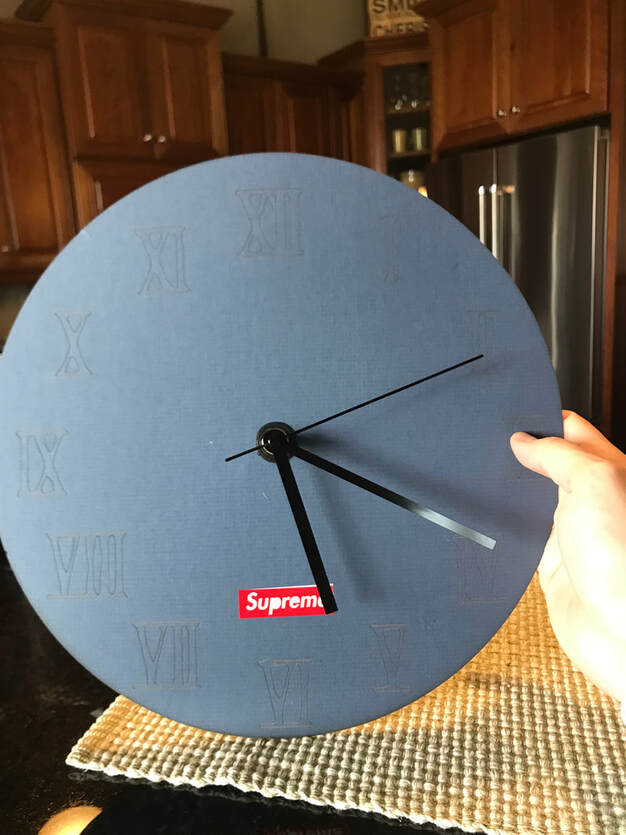
My result
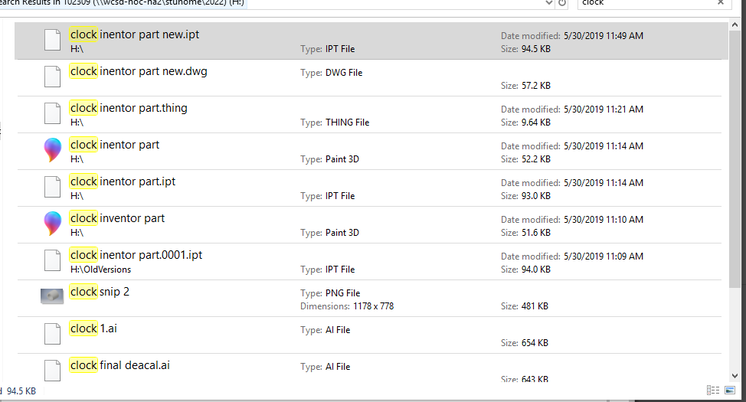
All of my digital documents
Me setting up my items on the equipment

Photos of me working on my project
My final project doing what it supposed to do
What I learned in the Individual Laser rotation
In this rotation I learned a lot of ideas and ways to use the machines. I also learned how to manage my time a lot better because we only had a couple of days to work on it. One of the most challenging things for me was the amount of machines we had. I often was waiting for a machine to get done so then I could go. This unit I felt was the most fun and hardest work.
The Three machines I used
1. Laser
2. 3-D printer
3. Vinyl machine
2. 3-D printer
3. Vinyl machine
